Saturday, March 29, 2014

Slow roasted carrots with hazelnuts and cherry sauce

Inspired by the carrots we had at Ribelle, I decided to try slow roasting some of the many carrots we have in the fridge.  I searched the web to figure out cooking times and found a recipe on the NY Times for slow roasted carrots with brown butter vinaigrette.

I started with just over 2 pounds of carrots, washed them, and cut off the ends, leaving the peels on.  (You could leave the ends on, if you'd like, but our rabbit likes to eat them.)  The recipe says to put the roasting pan across two burners, adding 3 T of olive oil, then the carrots once the oil is hot.  Then you add in the carrots to brown for 10-15 minutes, turning as necessary.
The oil was popping quite a bit for me, so I reduced the heat, meaning that I probably didn't brown them as much as I could have.

At this point, I diverged from the recipe.  Instead of adding butter and their recommended spices, I put salt and pepper on the carrots, then added one cup of cherry juice that I bought at Trader Joe's with no real purpose in mind.  They then went into a 325 degree oven.
At 30 minutes, I turned the carrots over, added a bit more salt and pepper, then put them back into the oven for another 30 minutes.  Then I cooked them another 10 minutes to get to my desired tenderness, for a total of 70 minutes in the 325 degree oven.
I poured the cooking liquid (olive oil and cherry juice) into a small pan.  I held the carrots in the oven, now turned off, to keep them warm.
I added a bit of dijon mustard and then reduced it while whisking.  For a while, it didn't seem like the olive oil would mix in with the juice, but it eventually emulsified.
I plated the carrots, sprinkled them with some toasted and chopped hazelnuts, then poured on the sauce.

Verdict: Excellent.  The sauce was great, as was the slow roasted texture of the carrots, plus the hazelnuts added a bit of texture.

Ribelle's carrots:

Mine:

Side note: while searching for a recipe, I also found this recipe for slow roasted carrots on coffee beans.  I wanted to put a link to it here so that I'd remember for later.  Last spring, we occasionally got some locally roasted coffee beans in our box; if we get them again this year, I'm going to try roasting carrots on them.

Friday, March 28, 2014

Oregon salad

A few years ago, I flew through the Portland airport.  Elephants Delicatessen had a small store there, from which I bought a wrap that included kale, red cabbage, apples, and grapes, with a really great, sweet dressing.  This salad is based upon that wrap.  Given that I bought the wrap in Portland, I call this Oregon salad.  It has nothing to do with Oregon beyond that.  It is a good way to use some red cabbage in a tasty salad.  When we got kale in the box this week, and I had part of a head of red cabbage still in the fridge, I had to make the salad.

Back then, I emailed to ask for the dressing recipe.  While they wouldn't share the recipe, they did send me the list of ingredients: mustard, carrots, tamari, agave, tahini, cider vinegar and canola oil.  I usually mix together some dijon mustard, tahini, white miso, cider vinegar, and tamari.  Sometimes I add a bit of olive oil, sometimes a bit of water.  It's different every time.  This time I decided to measure things out, so that I could give some ideas of the quantity in this post.  I'll likely go back to mixing quantities to taste again.
Dressing for Oregon salad:
3 T tahini
1 T tamari
2 T cider vinegar
1 T white miso
1 t dijon mustard
1 T water (or olive oil, if you'd prefer)
Whisk together all of the ingredients.  Adjust as desired to your taste.


Salad ingredients (add in your desired amounts):
Thinly sliced red cabbage
Chopped kale
An apple, cut into chunks
Green grapes, cut in half
Toasted hazelnuts
Put all of the ingredients and the dressing in a bowl.  Toss thoroughly.
 Enjoy.  Leftovers keep well for lunch the next day.

Thursday, March 27, 2014

What's in the box, 3/26/14 edition

Here's what was in this week's box.
A pepper jack bread from Nashoba Brook Bakery, another big bag of pea tendrils (but smaller than last week's), a small bunch of kale, apples, watermelon radishes, Gilfeather rutabagas, parsnips, and carrots.  The Gilfeather rutabagas are currently on the stove for soup (with a few purple top turnips thrown in as well, as I didn't have enough rutabagas to make a full batch of soup).  The kale will be going into a salad with some of the apples and some red cabbage still in the fridge.

The rest of the fruits and veggies have gone into the fridge.  I'm feeling like I should do a "what's in the fridge" post, as I've been accumulating some of these root veggies.  Need to find some new recipes to catch up on eating them.

Pink pasta

My favorite new cookbook is The French Market Cookbook by Clotide Dusoulier, who also writes the Chocolate & Zucchini blog.  The book caught my eye first because it had vegetarian recipes.  I ended up buying it because the recipes are organized by season, resembling the progression of vegetables that I see in my CSA boxes. While I've just had the book since December, so I've just been able to try recipes in the fall and winter section, you can see that I have many things bookmarked to try in the future.  I like this cookbook that I gave it to several friends for Christmas.  (Buy it.  Make the mushroom broth with Parisian gnocchi.)
The book also has a recipe for shockingly pink pasta.  It lives up to its name.  The following is adapted from that recipe in the book.

I started with an 8 oz beet.
Peel and cut into large (1/2" - 3/4") cubes.  Put the beet cubes into your food processor.  Add 2/3 cup of milk (the recipe calls for light cream, but I used 1% milk, as it's what I had in the house -- I've made it before with cream and don't think there's an appreciable difference), 1 garlic clove, 1/2 tsp of cumin, and 1/2 tsp of salt.  Blend until smooth(ish -- there will be some beet fibers in the mixture).

Cook your pasta (~2/3 lb).  When cooked, return the pasta to the pot and put the sauce over it.
Stir on medium low heat for about a minute.
Serve with toasted almonds over it.
It's not your typical pasta flavor, owing to the cumin seeds, nor is it a typical pasta color.  However, it's a good dinner and the beet sauce is very quick to make.

Sadly, I think we won't be seeing beets in the CSA boxes for many months.  I saved this beet from some that I bought at the farmers' market a week ago, planning to make this pasta.

Wednesday, March 26, 2014

Pea tendril pesto


This week, we got a very large bag of pea tendrils from the farm.  Here's the bag, after we've already used some of the tendrils for salads.
I don't think you can get the scale of the bag in that photo; it contains 11 ounces of tendrils.  So here it is with a teaspoon next to it.

Wash them in the salad spinner.  11 ounces filled my spinner twice.

Toast 2 cups of walnuts.

Cram as many pea tendrils as you can into the food processor bowl.  Mine is a 9 cup bowl.  I fit an entire salad spinner of tendrils into it.  (I do the same with basil pesto as well.  It makes the process go more quickly.)

Add 1 cup of the walnuts, then drizzle in some olive oil.

After processing, I put (crammed) the rest of the tendrils and walnuts into the bowl (on top of the already chopped tendrils and walnuts), then more olive oil.  Note that I don't put in salt.  I've found that salting at this stage can lead to oversalted pesto.

At this point, I tasted it, as did the husband, who said it was grassy.  Never a good thing.  I had thought about blanching the tendrils, but hadn't.  Blanching might have taken off this raw, grassy edge.

With my 11 ounces of pea tendrils, I had enough pesto for 6 meals.  I freeze the extra in cupcake tins (covered, but left the cover off in the photo below).  Once frozen, they can be popped out and put into a freezer bag or other container.
Add cheese to the rest of the pesto in your bowl.  I'd add 1/2-3/4 cup, as I like cheese.  I also tend to use pecorino romano (which is likely why my pesto ends up a bit salty if I add extra salt).

To make it into more of a sauce, add some of the pasta water as your pasta is cooking.  I added a bit over a 1/2 cup to get it to look like this photo:
When your pasta is done, drain it and return it to the pan.  Scrape the pesto out of your food processor bowl and mix it into the pasta. I cooked over low heat for a minute or so.  This cooking took off the grassy edge that the husband had noted, so blanching probably isn't necessary.
Serve.
Verdict: While I still prefer pesto made with basil, it was a good way to use a huge bag of pea tendrils that I don't think we'd have been able to use in salads alone.  In the summer, when the herb garden isn't under snow, I might add a bit of mint to the pesto.  Of course, by the time my mint is up, it won't be pea tendril season anymore.

Tuesday, March 25, 2014

Leftovers: biscuits for dessert

We had many parsnip biscuits leftover, as there were just two of us eating them.  (I stored the extras in the fridge.)  We used some for strawberry shortcake.  I separated the biscuits into halves to make more surface area for strawberries.
Then covered the halves with macerated strawberries (not in season, but on sale at the grocery store this week) and some non-fat greek yogurt with some vanilla sugar added to make it sweet.  Let the sugar sit in the yogurt in the fridge for at least a half hour to dissolve.  
 Veggies for dessert!

Leftovers: basked beans and parsnip biscuits for breakfast

I had some baked beans leftover, as well as several parsnip biscuits.  My dad likes to eat baked beans with his breakfast, so decided to try it myself.
Two eggs over easy, some baked beans, and two biscuits.  Not seen: I used some cranberry-pear jam made last November on the biscuits.  Definitely a very hearty breakfast.

Monday, March 24, 2014

Parsnip biscuits

This week's email from Siena Farms included a recipe for parsnip biscuits.  Inspired by our recent trip to Charleston, I decided to try to make these biscuits, which turned out to be easy to make as well as tasty.  The email says that the recipe is from Chef Cara at Oleana.

Parsnip biscuits

Ingredients for the parsnip puree:
2 medium parsnips, peeled and diced
2 T butter
1/2 c water
1/2 c milk (the recipe called for buttermilk, but I used 1% milk)
2 T honey
1/2 t salt
Ingredients for the biscuits:
2 c flour
2 1/2 t baking powder
1/2 t salt
8 T butter (1 stick), chilled
1 c parsnip puree, chilled
As the parsnip puree needs to be cold when you make the biscuits, I made it in the morning, to give it the day to chill in the fridge.  Peel and dice your parsnip(s).  (If you have huge parsnips, just use one.  You need to end up with a cup of puree.)
Melt the 2 tablespoons of butter in the puree ingredient list in small saucepan.  When melted, add the parsnips and cook until they start to soften and brown. 
Add the water and cook until the parsnip is soft.  Remove from the heat and add the milk, honey and salt.
Puree until smooth, then chill until cold.

In the evening, I made the biscuits.  Start by mixing your dry ingredients together well to make sure the baking powder is evenly distributed (I use a whisk).

Add the butter.  The recipe in the email suggested grating the butter into the mixture.  Excellent suggestion -- it worked very well.  Then use your hands to lightly mix the butter into the dry ingredients.  Chill for 10 minutes.
Add one cup of the parsnip puree and knead until just combined.
Roll out the dough to 1/2 inch thick.  I use the back of a large wooden cutting board to roll my dough.
After rolling it out, fold it into thirds and then half (or thirds again if you can do it).  You're adding layers to the biscuits.  Then roll again and fold again.  (Not too many pictures of these steps, as my hands were a mess.)
Then roll the dough out to 1/2 thick one last time.
Cut the biscuits.
Put them on a sheet of parchment paper on a baking sheet.
Bake at 400 degrees for 12-15 minutes, until lightly browned.  Cool for just a minute or two before serving.
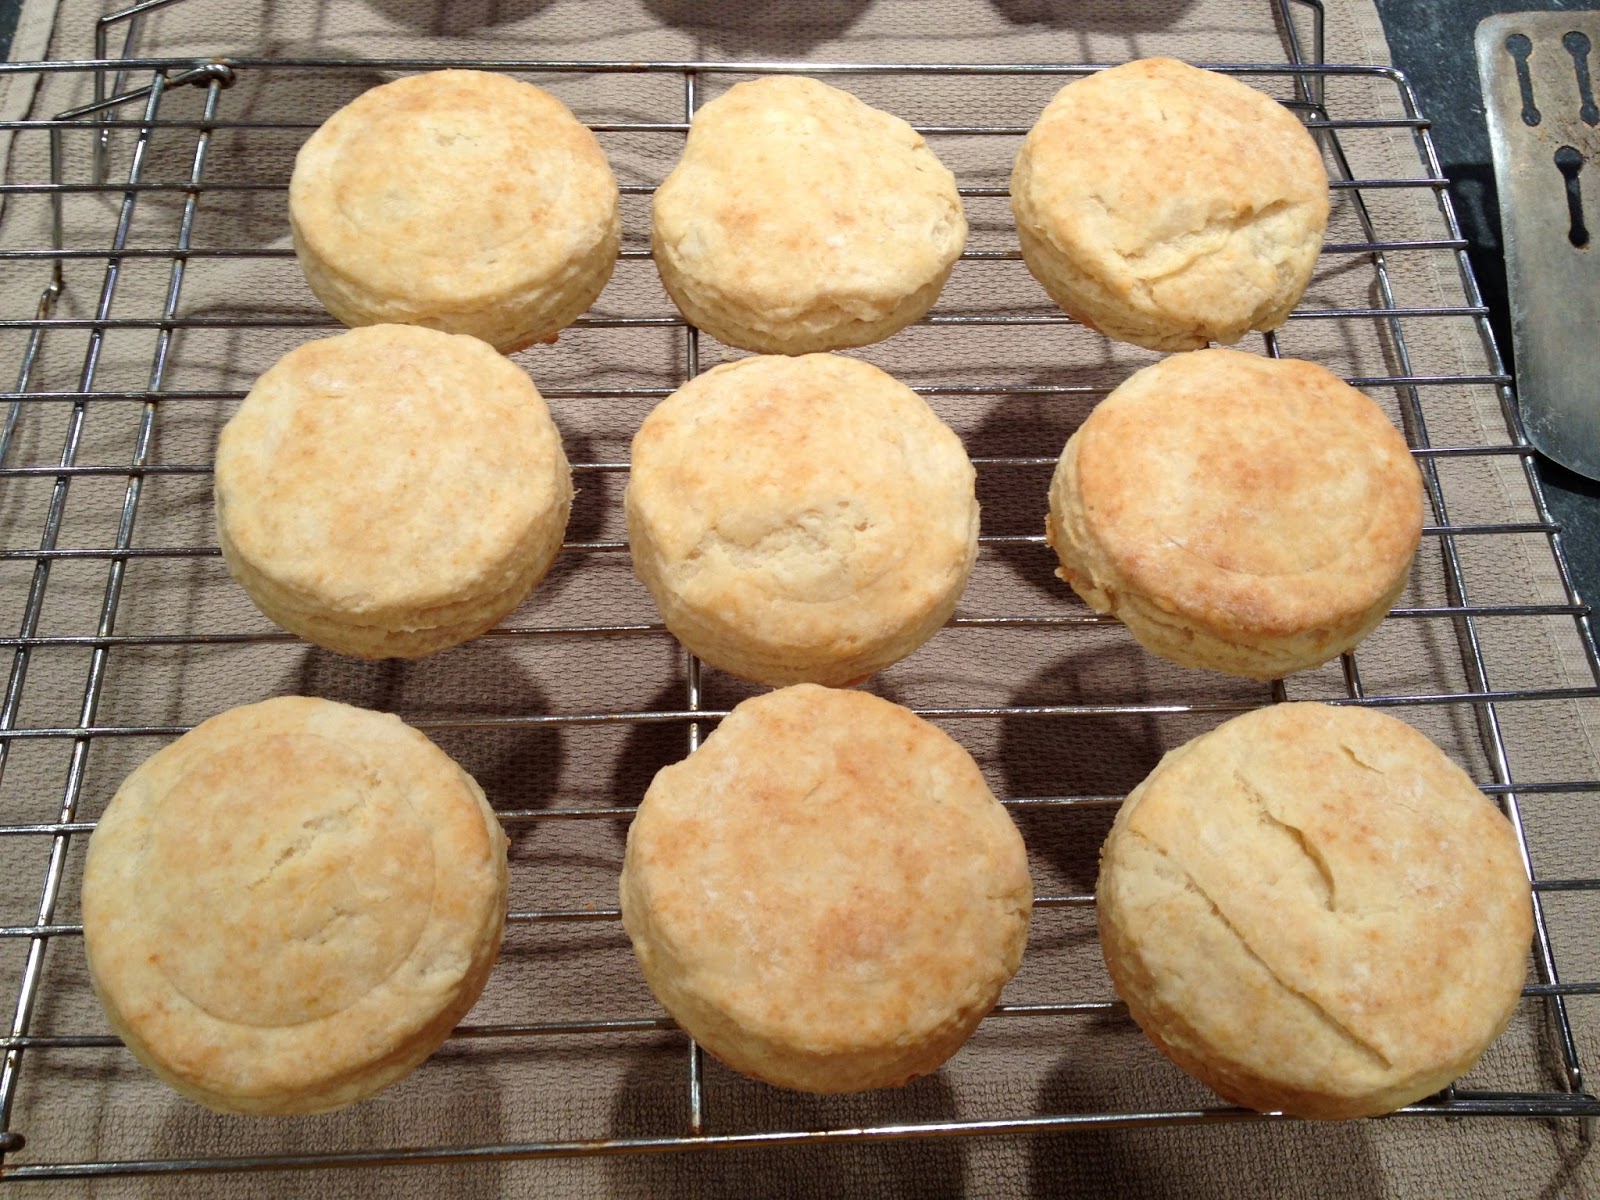
We ate them plain, but you could have them with butter or other accompaniments.


Sunday, March 23, 2014

Vegetarian baked beans


This week, we got a small bag (~8 oz) of dried Marfax beans in our box.  (I only know that they are that type of bean because of the email from the farm.  I do not have a deep knowledge of bean types.)
The email included a recipe for baked beans, using beer and maple syrup.  As I'm not a fan of beer, I decided to change the recipe a bit.  I looked online for other recipes to see what other people put into baked beans and then created a recipe that blended the things I liked from the set.  I also decided to make the beans in my crock pot for an easy cook over the day.

Vegetarian Baked Beans

8 oz dried beans
1 medium to large onion
1-2 T olive oil
1/4 c molasses
1/4 c maple syrup
1 T dijon mustard
2 T tomato paste
1 t salt with herbs
2 T cider vinegar
2 c water (you may need to add a bit more during cooking)

Soak the beans overnight in water. 
In the morning, chop the onion and saute it in 1-2 T of olive oil.  When softened (5-7 minutes), add it to your crock pot.  Drain the beans and add them to the crock pot.  Then add all of the ingredients in the list above.  Stir.
Cover the crock pot and set it to cook on low for 7-8 hours.  You might need to add a bit more water towards the end of the cooking to prevent the beans from getting too dry (baked beans should have some sauce).  We had to add about another 1/2 c of water around hour 6.

After cooking, your beans will look like this:
Taste and adjust seasonings as needed.  (I didn't need to add anything.)

I served the beans with some carrots cooked with David Chang's recipe and parsnip biscuits (also a recipe from the farm email; post coming soon).  Husband also had chicken.
Thoughts: You might want to cut the tomato paste down to 1 tablespoon instead of 2, if you'd like the beans to be a bit less tomato-y.  I thought they were fine as is, but the tomato seemed a bit stronger than the other flavors.